As film shooters, we all want to create accurate scans of our film. Vuescan is one of the most powerful scanning software available today. Ed Hamrick does a great job keeping the software up-to-date.
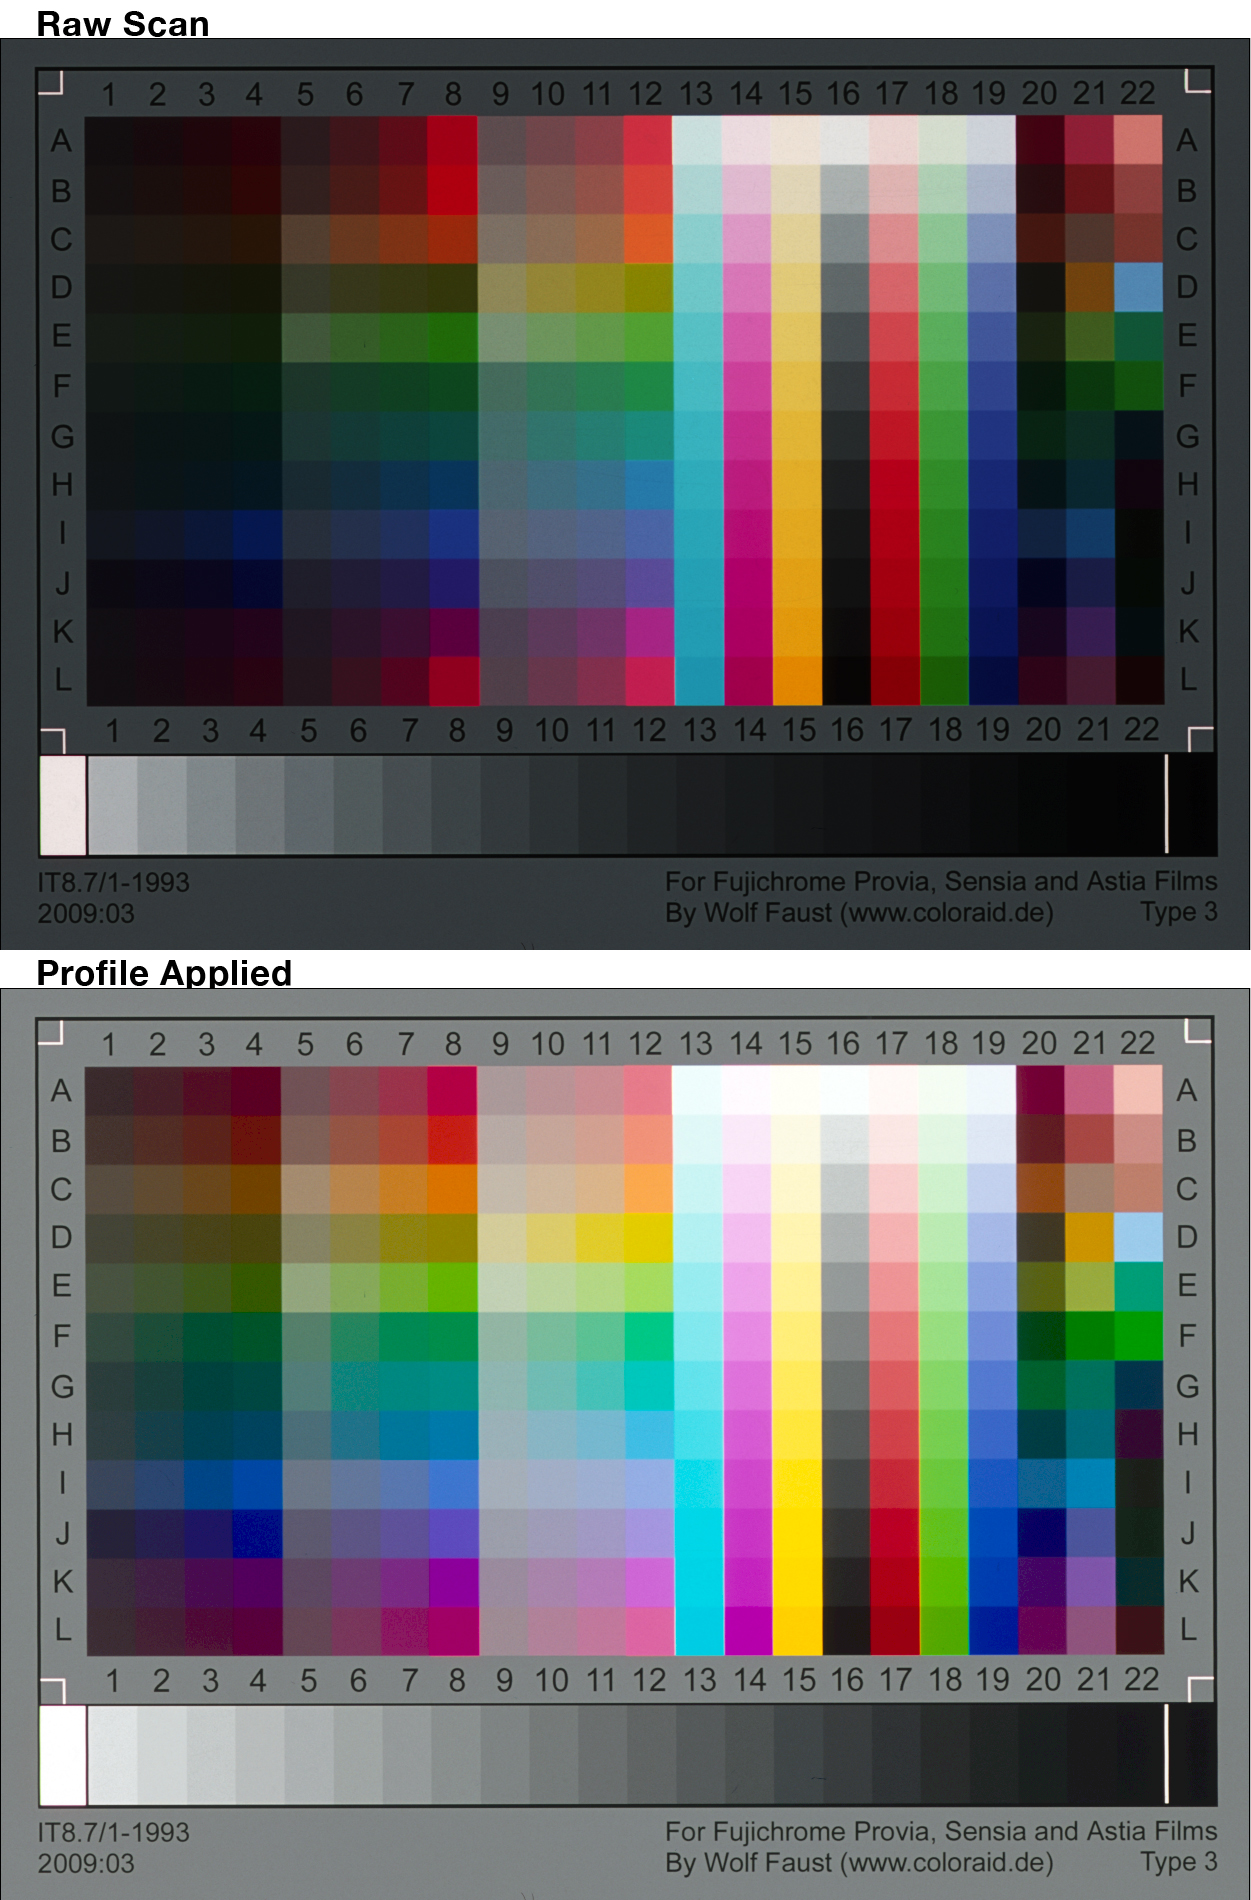
Creating accurate ICC profiles for your film is important to achieve correct colour reproduction, especially for slide/postive film. Unfortunately Vuescan does not do a very good job of creating or embedding ICC profiles. The following is a best-practices of how to achieve the most accurate scans from Vuescan for slide/positive film. This process is a collaboration between many people, including Martin Jericho and Wolf Faust.
Here’s what you’ll need to get started:
• Film scanner
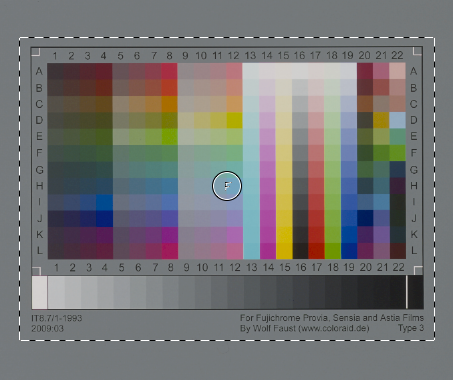
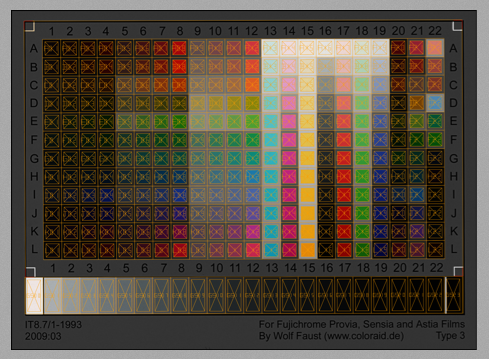
• IT8 film targets – Wolf Faust creates some of the best
• Rough Profiler (Mac) / Rough Profiler (PC) – to create ICC profiles
• Vuescan Pro
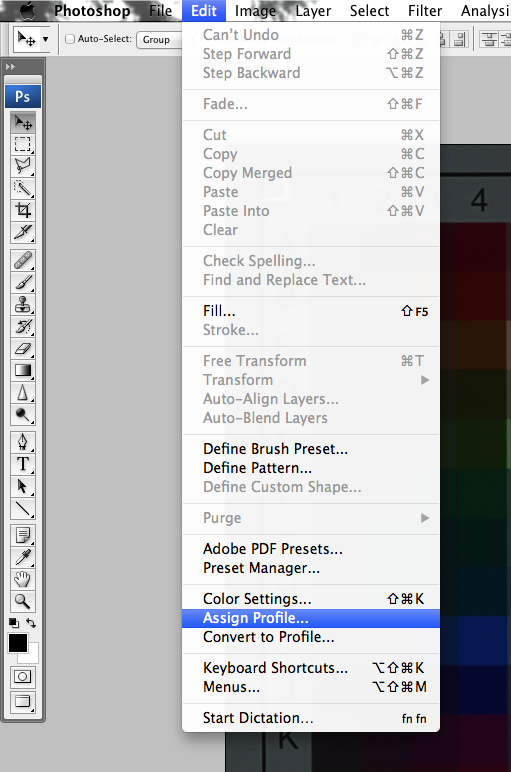
• Photoshop
There is a very good chance you will have to repeat this process a few times to create the best profile for your film. Be patient with the process, it’ll be worth it in the end.
This process of profiling and scanning with Vuescan was originally published on my personal blog, blog.iansheh.com. The information on this site has been revised from the original post with additional information from the various contributors and comments.
The process below is specific to profiling slide/postive film. If you are looking for a tool to edit negative film Negative Lab Pro is probably one of the best tool out there.